
How to Use Android Camera Controls for Better Photos

Bob Wild
Fine Art Photographer, Vancouver Island
Founder of Who Said Photography | 20+ years shooting | I try and test every tip on real shoots before it goes on the page
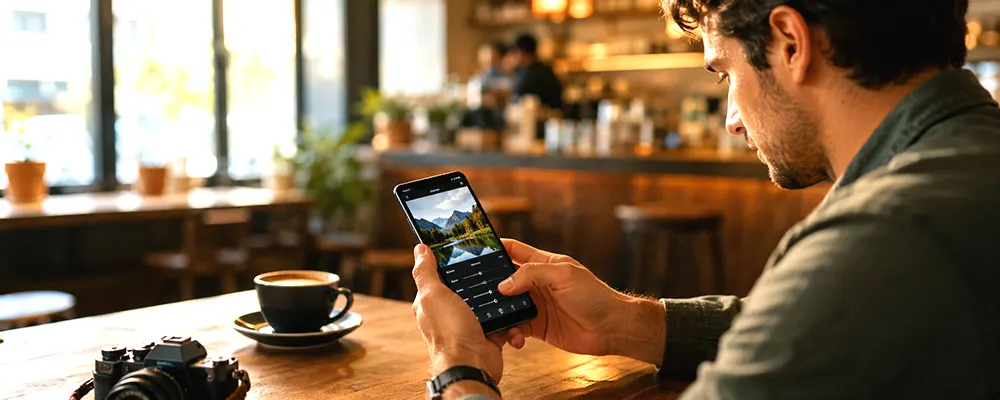
I’ve found that most beginners don’t need more camera features. They need to know which few controls actually affect focus, light, and composition.
In this guide, I’ll show you how to use Android camera controls in a practical way. You’ll learn how to open the camera app, take a sharp photo, adjust exposure, switch lenses, choose the right mode, and avoid the settings that usually cause confusion.
Key Takeaways
Clean the lens before every shot to prevent soft, hazy photos.
Tap the subject to control focus and adjust exposure before shooting.
Use natural light and steady hands to capture sharper everyday pictures.
Choose lens buttons before digital zoom to protect detail and image quality.
Turn on the grid to improve balance, framing, and composition quickly.
How Do You Access the Camera on an Android Phone?
To access the camera, tap the camera app icon on the home screen or apps screen. You may also be able to open it from the lock screen by tapping or swiping the camera icon.
Fast access matters when you want to capture a brief moment. The exact instruction varies by device, so look for a small camera icon in a bottom corner of the display.
On some phones, you can press the power button twice to activate the camera. Other models may let you swipe left from the lock screen. Check the phone’s camera settings or system settings if neither shortcut works.
If you can’t find the camera app, swipe up from the home screen to open the apps screen. Search for “Camera,” then tap the app icon to open it. You can tap and hold the icon to move it to your home screen for easier access.
How Do You Use the Camera to Take a Photo?
Open the camera app, frame the subject, wait for autofocus, and press the round shutter button. Many phones also let you use a volume button to take a picture.
Pausing before the shot gives the camera software time to adjust focus, exposure, and white balance. If you raise the phone and press immediately, the photo may look soft, too bright, or dim.
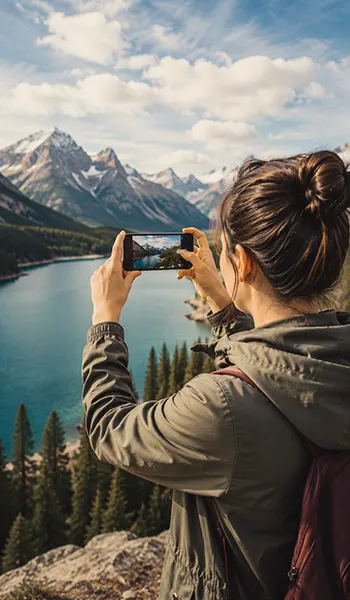
Hold the phone with two hands, keep your elbows close to your body, and press the button gently. If the scene is dark, brace the device against a wall, table, or tripod.
To take photos from a lower or higher angle, change the phone’s height instead of tilting it too sharply. A small change in position can clean up the background and improve the outline of your subject.
After each important capture, tap the preview image in the corner. Zoom in briefly to verify sharpness before the moment passes.
How Do You Switch to the Front-Facing Camera?
Tap the switch-camera icon, which often looks like two curved arrows around a camera. This changes between the rear camera and the front-facing selfie camera.
The choice matters because the rear camera is usually the better option for landscapes, family photos, pets, food, and everyday scenes. The selfie camera is designed for self-portraits and video recording.
For a selfie, hold the phone slightly above eye height and look toward the lens instead of your face on the display. Check the frame for bright windows, clutter, or objects that appear behind your head.
If the camera keeps flipping back to the wrong view, close and reopen the app. Camera layouts and button locations vary across Samsung, Pixel, Motorola, OnePlus, and other Android phone models.
How Do You Control Focus, Exposure, and Zoom?
Tap the subject on the screen to tell the camera where to focus. A box, circle, or dot may appear to highlight the selected area.
Many phones display an exposure control beside the focus point. Tap and drag the sun icon or slider up to brighten the shot or down to make it dimmer.
Some camera apps let you tap and hold to lock focus and exposure. This feature can help when the brightness changes as you adjust the frame, but it isn’t available on every device.
Use the on-screen lens buttons before pinching to zoom. You may see 0.5x for a wider view, 1x for a natural view, or another option for a closer shot.
Heavy digital zoom can reduce detail, so move closer when it’s safe. For a wide landscape, try the wide lens or panorama mode instead of zooming out through software.
Which Camera Settings and Modes Should You Use?
Photo mode is the best starting point for most pictures. Switch modes only when another feature solves a specific problem.
|
Mode or Control |
What it Does |
Best Use |
|---|---|---|
|
Photo |
Captures a still image |
Everyday photos |
|
Video |
Starts recording |
Action and sound |
|
Portrait |
Softens the background |
People and pets |
|
Night |
Brightens dark scenes |
Still subjects in low light |
|
Panorama |
Builds a wide image |
Landscapes and interiors |
|
Timer |
Delays the shutter |
Group shots or tripod use |
|
Grid |
Adds guide lines |
Straighter, cleaner composition |
Tap the gear icon to open the camera settings menu. Depending on the camera app on your phone, you may find options for grid lines, location tags, QR scanning, timer controls, and volume-button actions.
Some devices include AI tools that automatically adjust colour and processing. Use them only when they improve the photo, since names and results differ by brand.
Pro or Manual mode may include shutter speed, ISO, focus, and white balance controls. These settings can help in specific situations, but beginners don’t need them for better photos. Auto mode is usually the right place to start.
How Can You Take Better Photos Right Away?
Start with the lens. Wipe it with a clean, soft cloth because fingerprints can soften detail and make every light source glow.
Next, look for better light. Turn your subject toward a window, move outside into open shade, or activate more room lighting before using flash. Flash can help nearby subjects, but it may create harsh highlights and dark backgrounds.
Use the grid to improve composition. Place the horizon along a horizontal line and position the subject near an intersection when it makes the frame feel more balanced.
Check the edges before you click the shutter. Move left, right, higher, or lower to remove bins, signs, half-visible people, and other distractions.
For a steady night shot, use the timer and place the phone on a tripod or solid surface. This reduces movement when you press the shutter button.
Learning how to use Android camera controls works best when you fix one problem at a time. Subject soft? Tap to focus. Photo dark? Adjust exposure. Frame cluttered? Change your position.
How Do You Edit and Find Android Photos?
Photos usually appear in Gallery, Google Photos, or the manufacturer’s photo app. You can also tap the recent-photo preview inside the camera app.
Look for an album or folder named Camera if the picture isn’t in the main view. Screenshots, downloads, and images from other apps may be stored in separate folders.
To edit a photo, open it and tap Edit, the pencil icon, or a similar control. Basic tools usually let you crop, straighten, rotate, adjust light, or change colour.
Crop only enough to improve the frame. Heavy cropping can reduce detail, especially if the original shot used digital zoom.
Cloud backup and local phone storage are separate. A photo may appear in an online library while also remaining on the device, depending on the selected backup settings.
Keep Learning
Your next move with the camera
You’ve got the controls. These are the guides I’d hand you next. Each one picks up where the other left off. Written from the same real photo shoots
-
How to Take Better iPhone Photos With Simple Fixes
How to Take Better iPhone Photos With Simple Fixes Most phone photos don’t fail because the camera is…
-
How to Take Better Photos With Your Phone
How to Take Better Photos With Your Phone How to take better photos with your phone starts with…
-
How to Use iPhone Burst Mode for Moving Subjects
How to Use iPhone Burst Mode for Moving Subjects A moving subject can change position between the moment…




RECOMMENDED EDITOR
On1 Photo RAW – For when you outgrow the build in phone editor
The mobile editor I reach for my serious shots. Free 30-day trial
Conclusion
You don’t need Pro controls or every AI feature to take a clear Android photo. Clean the lens, find good light, tap the subject, hold the phone steady, and check the frame before pressing the shutter.
The easiest way to learn how to use Android camera controls is to practice the basics first. Add Portrait, Night, Manual, or Panorama mode only when each one solves a real photo problem.
About Bob Wild
Bob is a fine-art photographer on Vancouver Island and the creator of Phone Photo Guide, and the founder of Who Said Photography. He shares practical mobile photography tips based on real shooting situations, including portraits, natural light, composition, and everyday phone editing.