
Sharp Photos in Low Light iPhone: Simple Fixes That Help

Bob Wild
Fine Art Photographer, Vancouver Island
Founder of Who Said Photography | 20+ years shooting | I try and test every tip on real shoots before it goes on the page
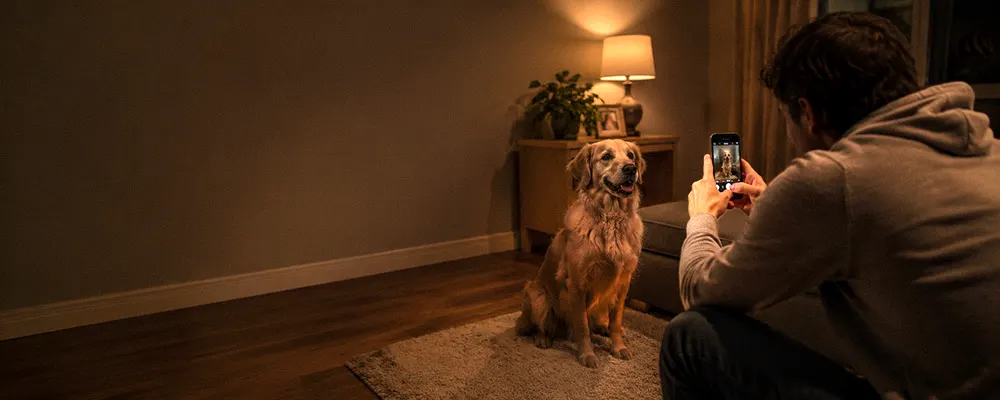
Have you ever tried photographing your pet or a friend moving around the living room at night, only to find that the photo looked sharp on your iPhone but blurry when you checked it later? In low light, even a small hand movement or a quick turn of the head can soften the image. I’ve learned over the years that taking sharp photos in low-light situations with your phone relies on stabilizing the device, ensuring precise focus, and locating sufficient light for the camera to effectively capture the moment.
Key Takeaways
Brace your phone before shooting so slower exposures record less camera shake.
Tap the main subject so focus lands on the detail that matters.
Use the main lens because it usually handles dim light more reliably.
Add a nearby light to reduce blur from moving people or pets.
Check photos at full size so you catch softness before leaving.
Why do low-light phone photos blur?
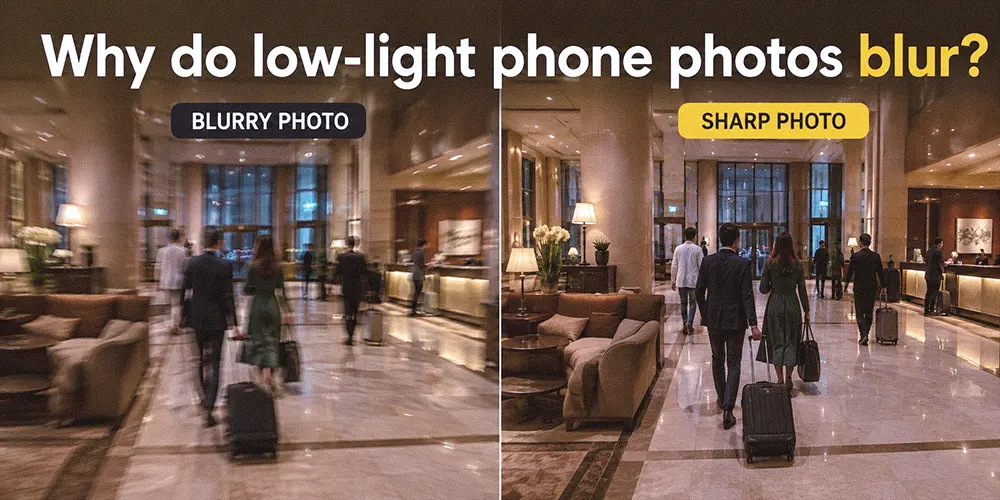
Low-light phone photos blur because the camera often needs a longer capture to gather enough light. Your hands can move during that time, or the subject can change position before the capture finishes.
When shooting in low light, the camera app may raise the ISO, reduce the shutter speed, or combine several frames. These adjustments help brighten the photo, but they can also increase noise or create motion blur.
This difference matters because each problem needs a different fix. Bracing the phone reduces camera shake, but it won’t stop a child, pet, or musician from moving. More light or a better-timed shot helps with subject movement.
Noise can also look like poor focus. Brightening and noise reduction may smooth fine details even when the focus was correct. Compare the edited result with the original image before applying stronger noise reduction.

How should you hold the phone?
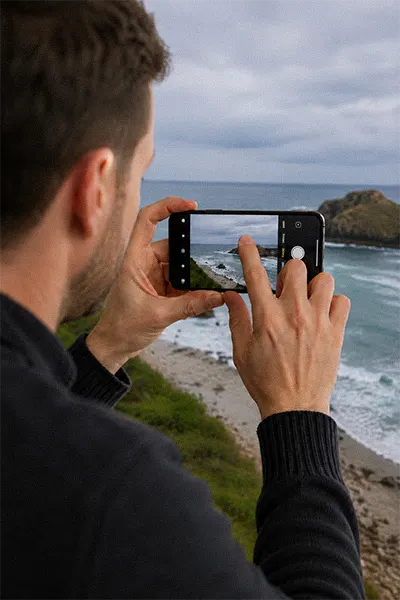
Hold the phone with two hands, keep your elbows near your body, and lean against something solid when possible. Press the shutter gently instead of jabbing the screen.
This matters because Night mode and other low-light processing may combine information captured over more than one moment. A stable phone gives the software better material to align and keeps fixed details clearer.
For handheld photos, keep your body as still as possible throughout the full exposure time. This is especially important when taking photos indoors, where the available light may be weaker than it appears to your eyes.
Try these supports before reaching for a tripod:
- Rest your wrists on a table, railing, or chair back.
- Lean your shoulder against a wall and slow your breathing.
- Use a volume button or timer to avoid moving the screen.
- Keep holding still until the capture indicator has finishe
Which camera mode works best?
Start with regular photo mode for moving subjects and use night mode for still scenes when the phone can remain steady. Flash can help with a nearby moving subject, while a tripod or firm support suits scenes that don’t move.
The choice matters because a brighter photo isn’t automatically a sharper photo. A longer night mode capture can reveal a building or landscape yet blur a person who turns their head. Choose the mode for the movement in the scene.
|
Choice |
Best use |
Main limit |
|---|---|---|
|
Photo mode |
People or pets that may move |
The image may look darker or noisier |
|
Night mode |
Still scenes with a steady phone |
Moving subjects may blur during capture |
|
Flash |
A close subject that needs freezing |
Light can look harsh and backgrounds turn dark |
|
Timer and support |
Buildings, food, or posed groups |
The phone and subject must stay in place |
Night controls and naming conventions vary by phone and software version. On supported iPhones, Night mode may switch on automatically. Pixel phones offer Night Sight, while Galaxy phones may place night controls in Photo, More, or Quick Controls, depending on the model.
On an iPhone camera, the Night mode icon displays an estimated exposure time when the feature activates. Models such as the iPhone 14 Pro may extend that time when the phone is completely stable. Use a tripod when the camera suggests a longer exposure and the subject isn’t moving.
Focus before you adjust brightness
Tap the most important subject before taking the photo. For a face, tap near the eye. For an object, tap an edge with clear contrast instead of a dark, plain area.
After focusing, adjust brightness only if the important detail is difficult to see. Drag the exposure control slightly, then watch bright lamps, signs, and windows. If they lose all detail, reduce the adjustment rather than trying to make the whole night scene look like daylight.
The camera’s sensor can only record the light that reaches it. Trying to brighten extremely dark areas may reveal noise and make textures look smooth or artificial.
Take two or three shoots when you can. Refocus if the camera locks onto the background. Taking several frames also improves your chances of finding one image without blurry details.
Use light to stop subject motion
When a person or pet is moving, add light before switching to a longer night mode. Move the subject near a lamp, open doorway, shop window, or other light source. Ask them to turn toward the light without staring into it.
More light lets the camera capture the moment sooner and record cleaner details. This is a dependable way to get sharp photos in low-light phone situations involving movement.
This technique is particularly useful for photos in low-light conditions because it allows the camera to use a faster shutter speed. This technique reduces subject movement without the need for complicated manual controls.
Avoid relying on the phone’s flash from across a room. Its reach is limited, and nearby objects may become brighter than the background. If flash is your only option, move closer and keep reflective surfaces out of the frame. The brightest object captures the viewer’s attention.
Choose the main lens first
Use the main rear camera, often marked 1x, when light is scarce. It is usually the safest starting point. This setting is typically where manufacturers provide their most effective low-light processing and stabilization features.
The main lens often directs more light to the sensor than an ultra-wide or telephoto camera. This setting helps the camera take photos with less noise and a shorter exposure time.
Avoid pinching too far into the digital zoom. Digital zoom crops and enlarges the image, which makes blur and noise easier to notice. Step closer when it is safe, or take a wider photo and crop it later with a clear view of the result.
An ultra-wide or telephoto lens can still work, but check the finished photo carefully. Don’t assume every lens will match the main camera at night.
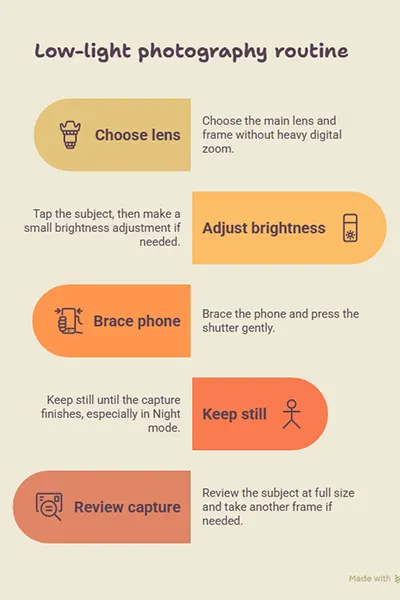
Follow a simple low-light routine
Use the same short routine whenever a scene becomes dim:
- Choose the main lens and frame without heavy digital zoom.
- Tap the subject, then make a small brightness adjustment if needed.
- Brace the phone and press the shutter gently.
- Keep still until the capture finishes, especially in Night mode.
- Review the subject at full size and take another frame if needed.
For a quick test, photograph the same still object twice. Support the phone for one frame and hold it normally for the other. Compare fine text or edges at full size. If the supported frame photos are sharper, camera movement would be the main problem.
If both frames are soft, clean the lens, tap a higher-contrast detail, and add light. That sequence helps you isolate the cause instead of changing several settings at once.
For a night scene, use a tripod and timer after completing the handheld test. A stable setup may allow the camera app to use a longer exposure without recording camera shake. This type of long exposure works best when nothing in the scene is moving.
Keep Learning
Your next move with the camera
You’ve got the controls. These are the guides I’d hand you next. Each one picks up where the other left off. Written from the same real photo shoots
-
How to Take Better iPhone Photos With Simple Fixes
How to Take Better iPhone Photos With Simple Fixes Most phone photos don’t fail because the camera is…
-
How to Take Better Photos With Your Phone
How to Take Better Photos With Your Phone How to take better photos with your phone starts with…
-
How to Use Android Camera Controls for Better Photos
How to Use Android Camera Controls for Better Photos I’ve found that most beginners don’t need more camera…



RECOMMENDED EDITOR
On1 Photo RAW – For when you outgrow the build in phone editor
The mobile editor I reach for my serious shots. Free 30-day trial
Conclusion: A simple path to sharper photos
Sharp low-light photos come from controlling motion and finding usable light. Start with the main lens, tap the subject to focus, and brace the phone. This repeatable approach gives you a better chance of sharp photos in low-light phone scenes without complicated settings.
Good low-light photography doesn’t always require manual control over ISO or shutter speed. Whether you’re using one of the latest iPhones or another smartphone, stability, subject movement, and available light usually make the most significant difference.
About Bob Wild
Bob is a fine-art photographer on Vancouver Island and the creator of Phone Photo Guide, and the founder of Who Said Photography. He shares practical mobile photography tips based on real shooting situations, including portraits, natural light, composition, and everyday phone editing.