
Pet Photos With Phone: Simple Tips for Sharper Results

Bob Wild
Fine Art Photographer, Vancouver Island
Founder of Who Said Photography | 20+ years shooting | I try and test every tip on real shoots before it goes on the page
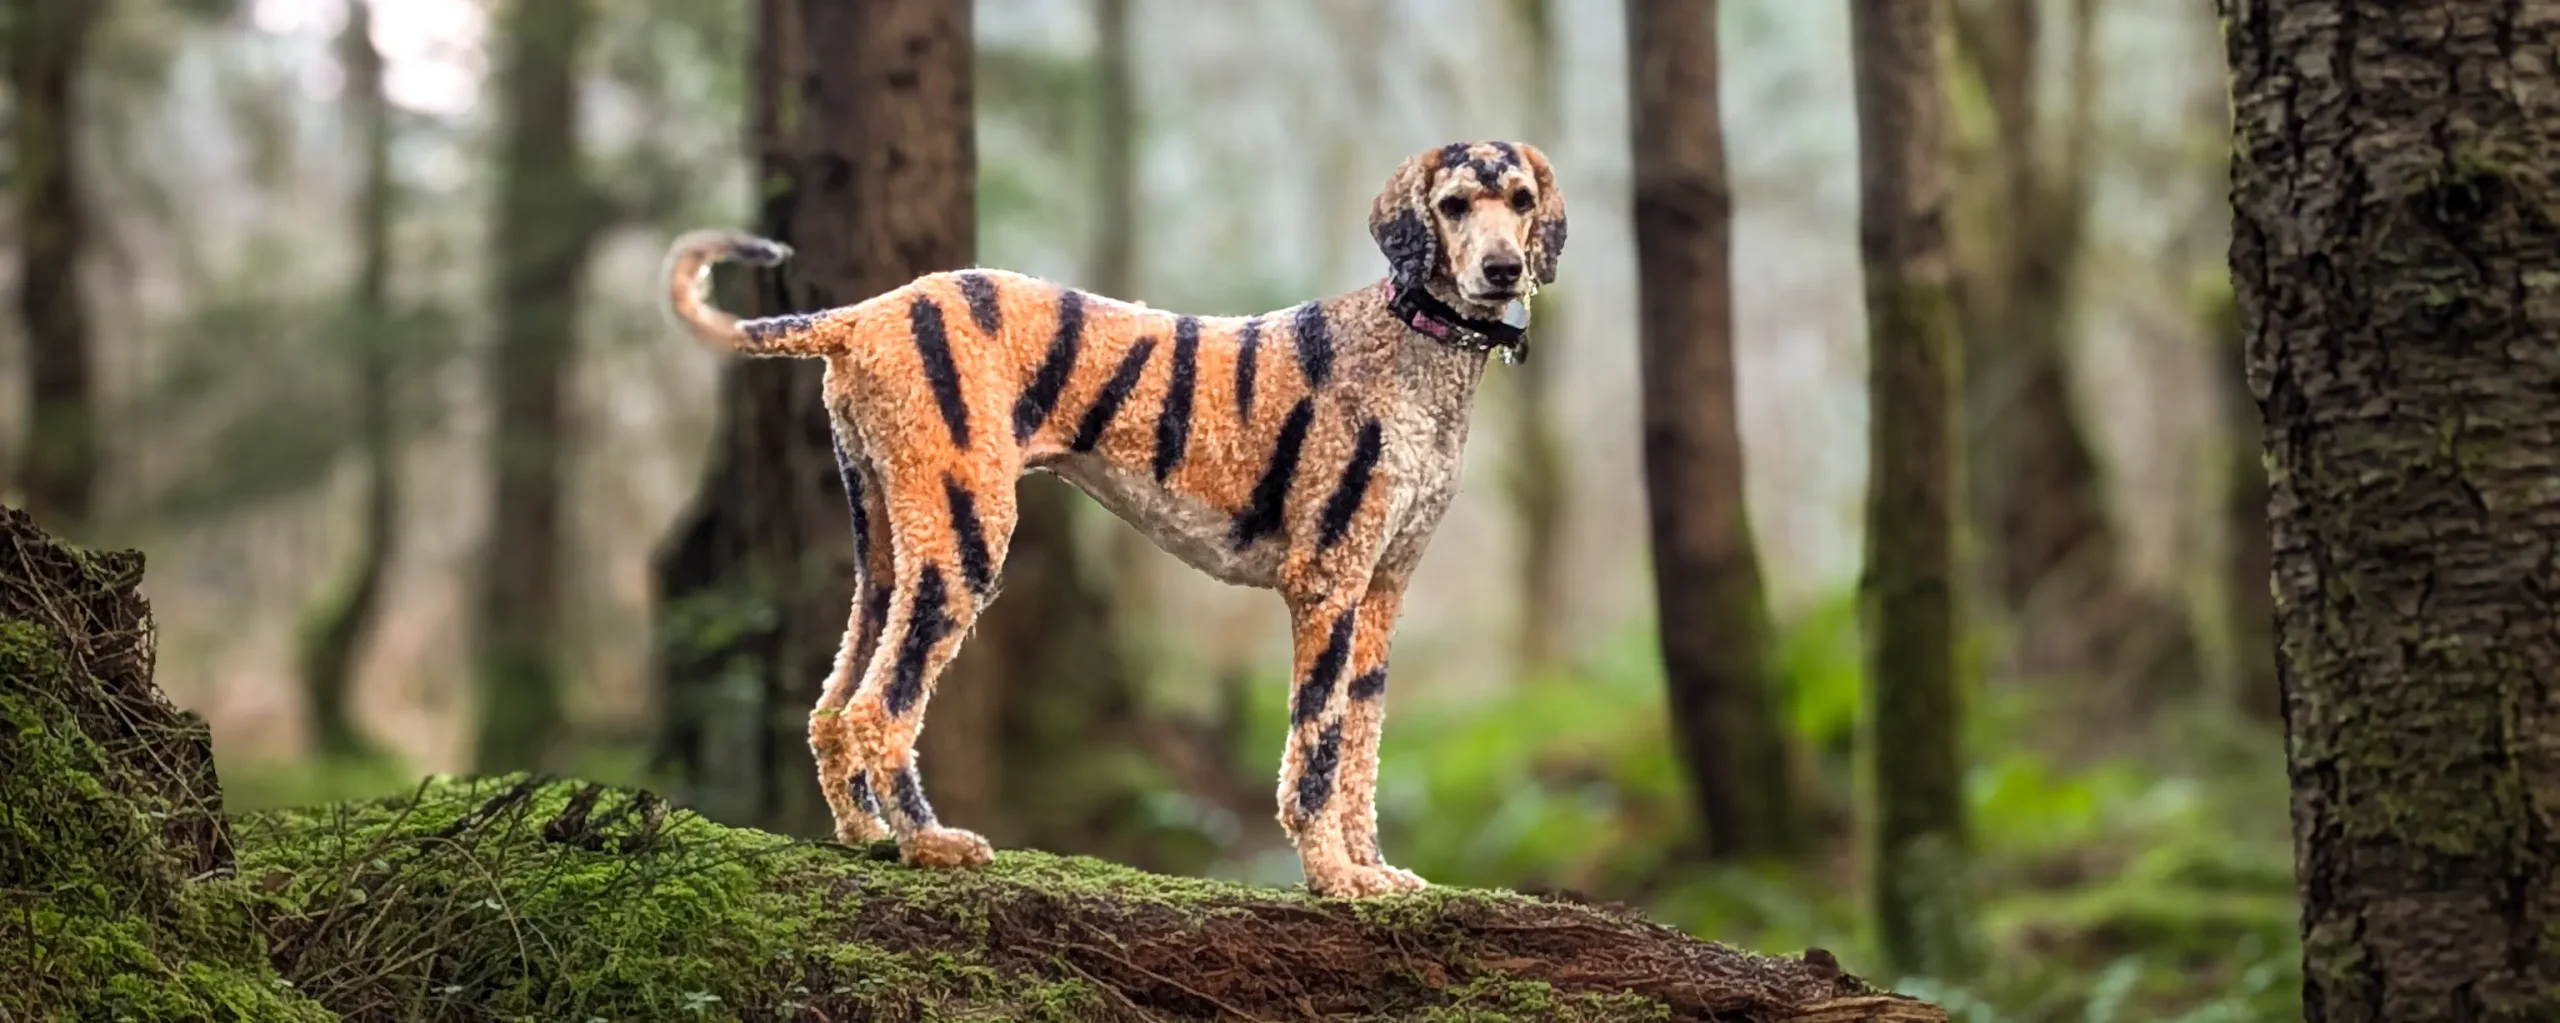
So, you want to learn how to take pet photos with phone. You’ve come to the right post. Most mornings, I start my day hiking the local trails, just me, the dog, and my phone. Truthfully, I use the phone to listen to music, but I also use it to take photos of the dog. In fact, I once challenged myself to photograph her every day, and that lasted 77 days.
Getting a good photo of your pet is not always easy. One second the dog is perfect, and the next he turns his head, jumps into the shadows, or runs out of the frame. I’ve learned that taking pet photos has less to do with complicated settings and more to do with light, timing, focus, and being ready when the moment happens.
Key Takeaways
Move near soft daylight so the phone can freeze motion more clearly.
Get to eye level so your pet feels present in the frame.
Tap the nearer eye to place sharp focus where viewers look first.
Capture short motion sequences so you can choose the best expression later.
Stop when your pet seems stressed because comfort matters more than posing.
Where should you place your pet?
Place your pet beside a bright window indoors or in open shade outside. Soft natural light is often the best for a furry subject. Turn the pet so the light reaches its face, but also keep direct sun and a bright window from sitting directly behind them.
Soft light shows detail in fur without forcing you to fight deep shadows. It also creates a small reflection in the eyes, which can make the portrait feel more alive.
Check the background before calling your pet into position. Remove bright objects and other distractions. Leave open space in the direction the pet is looking. A familiar bed can help the animal settle.
How do you focus on the eyes?
Tap on the screen over the closest eye, then take the photo as soon as the expression looks right. If the face looks too dark or bright, use the exposure slider that appears after you tap, but make a small adjustment.
Your viewers tend to notice the eyes first. Sharp fur on the shoulder won’t rescue a portrait when the eyes are soft, and heavy brightening can add noise or wash out light-coloured fur during post-processing.
Hold the phone with two hands and brace your elbows against your body. Take several photos because expressions change between frames. Your pet does not always need to look at the camera; a glance to the side can feel just as natural.
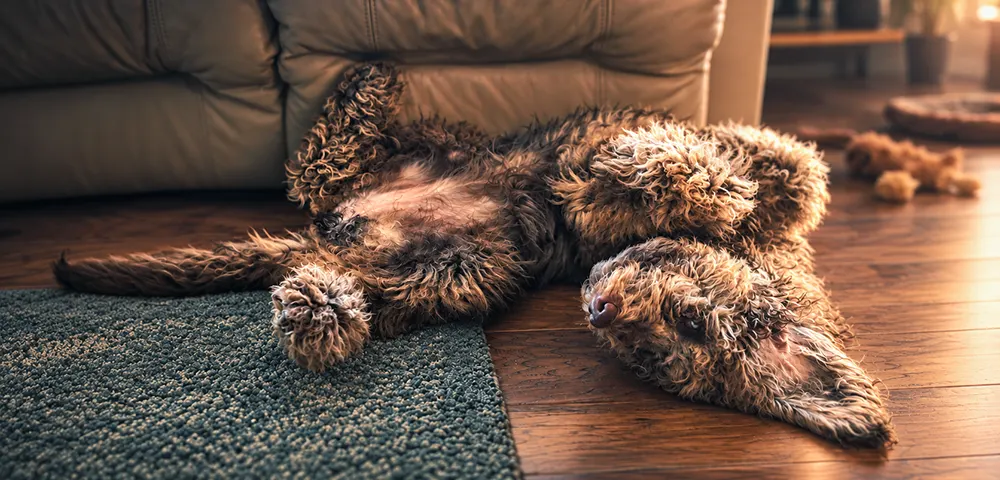

Work at your pet’s level.
Lower the phone and yourself to the pet’s eye level instead of photographing from a standing height. Kneel, sit, or place the phone close to the floor while keeping your balance and a safe distance.
Eye level makes the face and body look more natural. It can also remove a cluttered floor from the background by letting you frame a wall, garden, or distant trees behind the animal. Try a vertical frame for a seated portrait and a horizontal frame when the pet is moving across the scene.
Watch the edges before you tap. Wide lenses can stretch a nose, paw, or ear near a corner. Back up and use the main lens when you don’t want that effect.
Capture movement without missing expression.
Use a short burst or your phone’s motion-photo feature when the pet is running, jumping, or shaking. Burst mode can improve your chances of getting a sharp expression during quick action. Keep the camera pointed where the animal is going, start just before the action, and review the sequence after the moment ends.
Phone makers use different names. Apple Live Photos records a moment around the shutter. Google Pixel Top Shot captures multiple frames and can suggest a favourite. Samsung Motion Photo records action before the still. Availability and frame quality vary.
|
Shooting option |
Best use |
Main limit |
|---|---|---|
|
Standard photo |
Calm portraits in good light |
Easy to miss a quick expression |
|
Burst capture |
Running, jumping, or rapid head turns |
Creates many similar files to review |
|
Live or motion photo |
Small movements, blinks, and changing expressions |
Feature names and saved-frame quality vary |
For better pet photos with your phone cameras, use movement features as a safety net, not a reason to hold the shutter for a full minute. Short sequences are easier to sort and less likely to fill storage with near-duplicates.
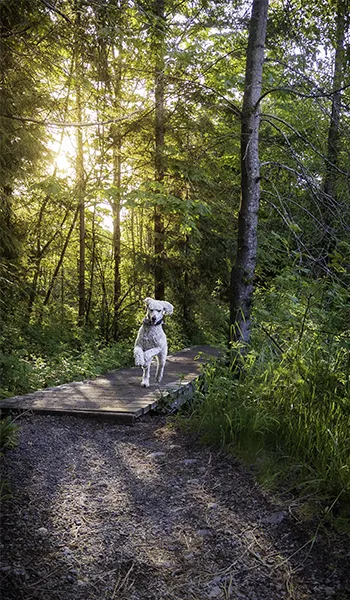
Keep the session calm and safe.
Work in a familiar place and keep sessions short. Use a favourite toy, but stop when the animal loses interest.
Learn the pet’s signals. Turning away, freezing, lip licking, shaking, pinned ears, a tucked tail, or an attempt to leave can mean the animal needs space. The American Kennel Club’s photography guidance also puts safety first and recommends stopping when a dog shows stress or fatigue.
Don’t place an animal on a high stool, wall, or slippery surface for a better angle. Also leave the phone flash off when possible, especially around puppies or animals that are startled by sudden light. Window light or open shade is usually more flattering anyway.
Use a simple pet photo routine.
Follow the same order each time so you can finish your photo session before your pet gets bored:
- Clean the lens and choose the main rear camera.
- Move to soft window light or open shade.
- Simplify the background and shoot at eye level.
- Tap the nearer eye and adjust brightness only if needed.
- Take a few stills, then use a short burst for movement.
- Stop, reward calm behaviour appropriately, and review the photos later.
Choose the frame with the best expression before judging small flaws. A sharp photo with a tense pose won’t show the personality you know.
Keep Learning
Your next move with the camera
You’ve got the controls. These are the guides I’d hand you next. Each one picks up where the other left off. Written from the same real photo shoots
-
How to Take Better Photos With Your Phone
How to Take Better Photos With Your Phone How to take better photos with your phone starts with…
-
How to Use Android Camera Controls for Better Photos
How to Use Android Camera Controls for Better Photos I’ve found that most beginners don’t need more camera…
-
How to Use iPhone Burst Mode for Moving Subjects
How to Use iPhone Burst Mode for Moving Subjects A moving subject can change position between the moment…




RECOMMENDED EDITOR
On1 Photo RAW – For when you outgrow the build in phone editor
The mobile editor I reach for my serious shots. Free 30-day trial
Conclusion: Make the moment more important.
The best pet photos with phone cameras come from preparing the scene and then allowing them to act naturally. Find soft light, work at eye level, focus on the closest eye, and use short motion sequences when the action begins.
Keep the session safe and brief. You’ll build a stronger set of pictures by respecting your pet’s comfort than by forcing one perfect pose.
About Bob Wild
Bob is a fine-art photographer on Vancouver Island and the creator of Phone Photo Guide, and the founder of Who Said Photography. He shares practical mobile photography tips based on real shooting situations, including portraits, natural light, composition, and everyday phone editing.