
How to Take Better Waterfall Photos With Phone

Bob Wild
Fine Art Photographer, Vancouver Island
Founder of Who Said Photography | 20+ years shooting | I try and test every tip on real shoots before it goes on the page
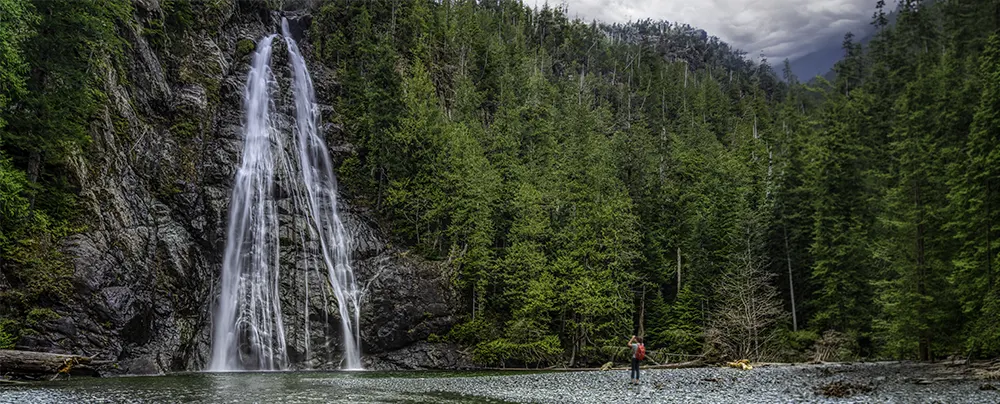
Waterfall photography with a phone can be challenging. Just ask me! I’d rather use my Sony mirrorless camera, but occasionally I don’t have it with me. Capturing moving water without losing detail isn’t always easy with a phone, especially when you’re dealing with bright white water and dark shadows. But hold on, there are ways to work around these challenges and still capture great photos without lugging around that expensive camera.
Whether you’re using an iPhone or Android phone, I’ll show you how to get better waterfall photos using a few practical camera settings and shooting techniques. We’ll look at how to control exposure and keep the surrounding landscape sharp.
I’ll also walk you through using Live View, long exposure, and slower shutter speeds to create that silky water effect. We’ll cover when a tripod makes a difference, how to avoid losing detail, and a few simple editing adjustments to finish your photos.
Key Takeaways
Wipe the camera lens before shooting so mist doesn’t soften fine scene detail.
Choose crisp or blurred water first, then select the matching camera method.
Lower exposure slightly to protect bright water and preserve visible texture.
Brace the phone or use a tripod so the surroundings stay sharp.
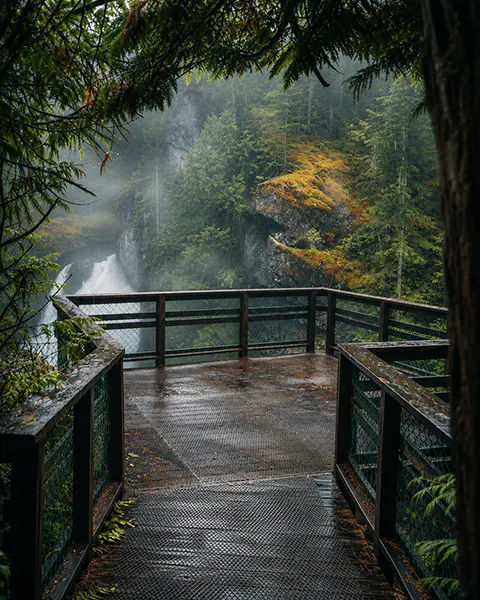
Stay on marked viewpoints because wet surfaces can be dangerously slippery.
How should the waterfall look?
Decide whether you want to freeze splashes or give the water a smooth flowing effect before changing any settings. Standard photo mode usually keeps the water splash, while a long-exposure method can blend moving water across several moments.
Each look requires a distinct technique. Hand-holding the camera during a long exposure may result in blurry details, while a short exposure may eliminate the flow in the water.
Start with a normal photo as a reference, then try a smooth-water version after you have a frame you like.
What light works best for waterfalls?
Soft, cloudy light is usually the easiest for waterfall photos, whether you’re photographing a small cascade or falls in a national park. An overcast sky, open shade, or light near sunrise and sunset reduces the contrast between bright water and the shaded forest.
Phone sensors have limited dynamic range, so harsh midday sun turns the water into a white patch while the forest falls into dark shadow. Softer light allows the camera to retain more colour throughout the scene.
In strong sunlight, look for an angle where the water is in shade, and omit a bright sky unless it supports the composition

How do you keep details sharp?
Keep details sharp by cleaning the lens, setting focus, and bracing the phone.
- Open your camera app.
- Wipe away any mist.
- Tap a solid feature beside the main flow to set focus and exposure.
A single water droplet on your lens can produce haze or streaks. Check the preview after every few frames, especially when the mist is flowing all around you.
Use two hands with your elbows tucked into your ribs, or rest the phone against a safe, solid support. If the brightness keeps changing, use the AE/AF lock.
Control bright water and dark rocks.
Water should be properly exposed without losing the texture, so tap the brightest area and lower the exposure slightly if the preview looks white and empty. This is also a beneficial time to check your histogram.
Don’t darken the whole scene for one tiny highlight; compare two or three exposures. Try to keep the flow of the water and detail the surrounding area. HDR can help balance bright and dark areas, but check that it doesn’t make the rest of the scene look unnatural.
Use the main camera when possible; use ultra-wide lens only when you can’t step back far enough to keep the complete fall in the frame. Check the corners for stretched trees or space.
Choose a method for moving water.
Phones create motion blur in different ways, so use the simplest option your camera provides and don’t assume every model has it. Some combine several images to create a soft water effect without manual shutter controls.
|
Method |
Best use |
Main limit |
|---|---|---|
|
Standard Photo mode |
Crisp splashes and a quick handheld shot |
Less control over the water’s texture |
|
Built-in long exposure |
Smooth water with simple controls |
Availability and processing vary by phone |
|
Pro or manual mode |
Direct control over shutter speed and brightness |
Often needs support and careful exposure |
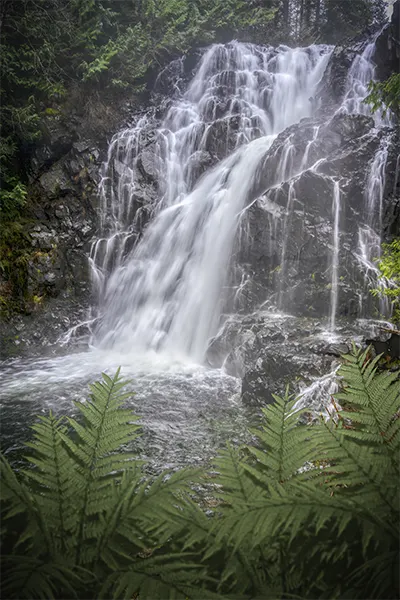
Open the Photos app on your iPhone, choose the Live Photo, tap the Live menu, and select Long Exposure. The result blends the moving water into a silky flow. On older iPhones , the controls may look different, so check the menu rather than assuming you need to swipe.
On supported Android phones, select Long Exposure in the camera app and hold the iPhone still. Some Galaxy phones offer shutter-speed control in Pro mode, but settings vary by model and software.
For a manual attempt, use the lowest possible ISO and a slow shutter speed. If your app offers aperture control, remember that most phone cameras have a fixed physical aperture. Bright daylight can sometimes overexpose before the water becomes smooth, although an optional phone-sized neutral-density filter can reduce the light.
Build a stronger composition.
The silky-water effect can’t rescue a weak frame, but a curved stream, line of stones, or branch can lead the eye toward the main drop. A strong composition matters just as much as the water effect.
Try these quick changes before touching more settings:
- Step left or right to separate the falls from busy branches.
- Include a foreground rock or pool to add depth.
- Keep the horizon level when the surrounding landscape is visible.
- Use a longer focal length to isolate patterns in distant water.
- Take a vertical and horizontal version before leaving.
Avoid heavy digital zoom because it reduces detail and exaggerates shake. Use the marked camera buttons first, then crop a little later.
Use a steady shooting routine.
A short routine will make your water fall photos more consistent and keep spray from going unnoticed on the camera lens. You can shoot handheld, but a tripod with a secure phone mount gives you better consistent results. Adjust the tripod head before recording so the frame won’t drift.
I suggest following this order.
- Clean the lens and frame the scene.
- Take one sharp photo in standard mode.
- Tap the subject and reduce exposure if the water loses detail.
- Brace the phone or mount it securely.
- Turn on a two-second timer for a longer capture.
- Try the phone’s long-exposure or manual option if it has one.
- Review for sharpness, highlights, and spray on the camera before moving on.
Protect your phone from heavy mist even if it has a water-resistance rating. Keep a dry cloth handy and don’t charge a wet phone.
Edit without flattening the scene
You’ll have to lower the exposure if the water has blown highlights, lift shadows enough to reveal nearby detail, and add a modest amount of contrast, but avoid heavy clarity or sharpening because it can make silky water look rough.
Forest shade can push a photo too blue or green, so adjust some warmth. If you are post-processing the image, avoid trying to fix an overexposed white patch after the fact.
Keep Learning
Your next move with the camera
You’ve got the controls. These are the guides I’d hand you next. Each one picks up where the other left off. Written from the same real photo shoots
-
Common Mistakes Mobile Photographers Make for Beginners
Common Mistakes Mobile Photographers Make: Beginners Guide Common mistakes mobile photographers make often has less to do with…
-
Flower Photos With Phone: Beautiful Flower Photography Tips
Flower Photos With Phone: Beautiful Flower Photography Tips Flower photos with phone can turn out wonderful, but have…
-
How To Adjust Exposure on iPhone Before You Take the Shot
How To Adjust Exposure on iPhone Before You Take the Shot I learned how important it is to…




RECOMMENDED EDITOR
On1 Photo RAW – For when you outgrow the build in phone editor
The mobile editor I reach for my serious shots. Free 30-day trial
Keep the water effect intentional.
Taking waterfall photos with phone cameras takes a little patience and experimentation, but you’d be surprised at what you can capture. Whether you prefer sharp, detailed splashes or that smooth, silky water effect, it’s all about working with the light, choosing the right settings, and finding a composition that works.
Your phone might not give you the same control as a mirrorless camera, but that doesn’t mean you can’t come home with some great photos. Next time you go waterfall hunting, consider trying these techniques. You might just capture a shot you didn’t think your phone could handle
About Bob Wild
Bob is a fine-art photographer on Vancouver Island and the creator of Phone Photo Guide, and the founder of Who Said Photography. He shares practical mobile photography tips based on real shooting situations, including portraits, natural light, composition, and everyday phone editing.