
Android Photography Tips for Better Everyday Phone Photos
Bob Wild
Fine Art Photographer, Vancouver Island
Founder of Who Said Photography | 20+ years shooting | I try and test every tip on real shoots before it goes on the page
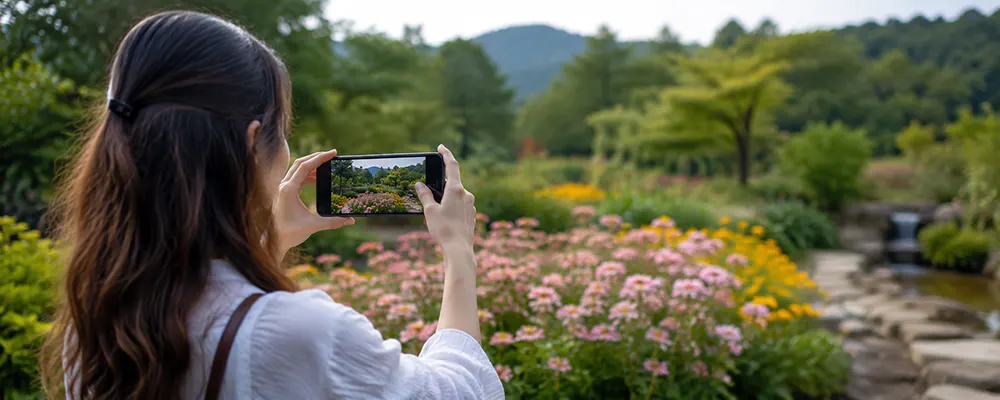
I’ve seen a lot of phone shots fail for the same small reasons: focus lands behind the subject, A blown-out sky , the wrong lens kicks in, or the edit pushes colours too far. Most of those problems are easier to fix before you tap the shutter.
Most phone photos hinge on a single decision made before pressing the shutter. Is the subject soft? Tap to focus. Is the sky too bright? Try HDR. Is the background messy? Change your angle. You don’t need every feature in your camera app. You need to know which setting solves the problem in front of you.
Android phones vary by brand, model, and price. Samsung, Google Pixel, OnePlus, Motorola, and other smartphones label tools differently, so test these habits on your phone.
Key Takeaways
Tap your subject before shooting so focus lands where it should.
Use HDR when bright skies and dark areas need balanced detail.
Choose modes by the photo problem, not by the mode name.
Avoid digital zoom when moving closer; telephoto works better.
Edit lightly so that colour, contrast, and skin tones still look natural.
How do you make Android photos sharper?
Tap the subject before you shoot; doing so should help you keep the subject sharp. This works with faces, pets, food, flowers, products, and close details.
Sharpness matters. Why? One missed focus point can ruin the shot. If your subject is positioned close to a busy background, your phone may inadvertently focus on elements such as a wall, tree, chair, or sign instead of the intended subject. Tap the face, plate, flower, or object; let focus settle; then press the shutter.
If the subject still looks soft, check whether the phone switched to the wrong lens. Some devices change lenses automatically when you move close or zoom in.
For movement, use burst mode if your phone offers it. Hold the shutter button or use the burst setting, then keep the sharpest frame and delete the rest. Burst mode is useful for children, pets, sports, and quick expressions.
For a deeper walkthrough of Android camera features, see our Android photo guide.
When should you use HDR?
Use HDR when the scene has bright and dark areas at the same time. It helps with sunsets, shaded streets, snowy scenes, bright windows, and landscapes with a bright blue sky.
Smartphone sensors can struggle to hold detail in both highlights and shadows. Without HDR, the sky may turn white or the subject may go too dark. With it on, the phone tries to balance more of the scene.
Do not use HDR blindly. If someone is moving, the phone may blend more than one exposure and create blur or ghosting. For a running dog, waving child, or moving car, regular photo mode works better.
A useful test is simple. Shoot the same scene with HDR on and off, then compare the results later. This quick habit teaches you how your phone handles contrast.
Which camera mode should you choose?
Choose the mode that solves the problem for you. Photo mode is still the safest starting point for most everyday photography.
Camera modes are tools, not upgrades. Portrait mode is not always better for people. Night mode is not always better after dark. Food mode may help a meal look warmer, but it can also push the colour too far.
|
Mode |
Best For |
Avoid When |
Check First |
|---|---|---|---|
|
Portrait |
People, pets, simple subjects |
Edges look strange |
Background blur |
|
Night |
Dark streets or quiet interiors |
Subjects are moving |
Capture time |
|
Panorama |
Wide views or interiors |
People cross the scene |
Sweep direction |
|
Macro |
Small close details |
Focus keeps hunting |
Minimum distance |
|
Food |
Plates and drinks |
Colour looks too strong |
Warmth and saturation |
|
Pro |
Tricky light or colour |
You need a quick candid |
ISO and shutter speed |
Portrait mode is useful when the background distracts from the subject. Check the edges around hair, glasses, fingers, and pet fur. If the cutout looks fake or the bokeh feels forced, regular photo mode may look better.
Night mode helps when the scene is dark and fairly still. It usually needs a moment to gather light, so camera shake and subject movement can hurt the result. Brace yourself and take more than one shot.
Panorama is best when the scene is too wide for your lens. Use it for mountain views, murals, city streets, and interiors where backing up is not possible.
Before you change modes, ask what is actually going wrong: motion, low light, messy background, or too much contrast.
How does Pro mode help beginners?
Pro mode helps when Auto mode gets the photo close, but not quite right.
Start with exposure. If snow looks grey, a sunset looks washed out, or a face is too dark against a window, adjust brightness before you shoot.
ISO controls how sensitive the camera is to light. Lower ISO usually gives a cleaner file. Higher ISO can brighten a dark scene, but it may add noise.
Shutter speed controls how long the camera gathers light. A faster setting can freeze movement. A slower one can brighten the scene, but it can also increase camera shake.
White balance controls colour. If indoor light makes skin look yellow, cool it slightly. If a cloudy scene feels too blue, warm it gently. Change one setting to fix one visible problem, not to make the process more complicated.
Why does digital zoom often look worse?
Digital zoom often looks worse because it crops into the image instead of using a stronger optical lens. The farther you pinch, the more detail the phone may throw away.
Use the lens buttons first. Many phones show options such as 0.5x, 1x, 2x, 3x, or 5x. Those buttons may use a real wide, main, or telephoto lens, depending on your phone. That usually gives a better photo than dragging the zoom slider to a random number.
When it’s safe, move closer instead. Moving your body changes the relationship between subject and background in a way cropping cannot.
If you can’t move closer, use the best optical option available and take extra frames. A slightly imperfect photograph of a real moment is still better than no photo at all.
How can composition improve your photos?
The object of composition is to make your subject easier to notice. You’re not trying to follow the rules perfectly. You’re trying to remove confusion from within the frame.
The rule of thirds helps when the centre feels too static. Place a person, horizon, doorway, or main object slightly off-centre and see if the picture feels more balanced. Some subjects still look stronger in the centre, especially food, architecture, products, and symmetry.
Watch the edges before you shoot. If a sign, chair, branch, sleeve, or bright object pulls attention away from the subject, change your angle or crop tighter.
Natural light also shapes the photo. A face near a window, a meal beside soft side light, or a travel detail in open shade often looks cleaner than the same subject under harsh overhead light.
How should you edit smartphone photos?
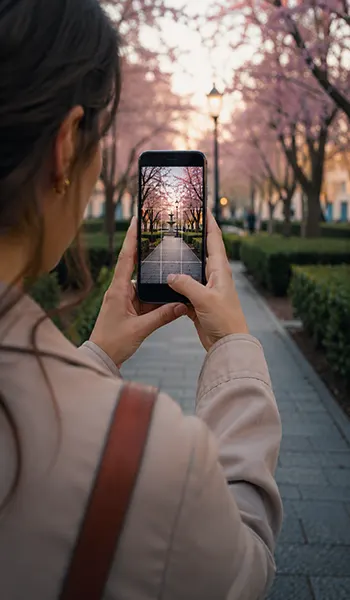
Edit smartphone photos to finish the image, not to bury it under filters. In my opinion a good edit makes the subject clearer while keeping the photo believable.
Start with a crop and straighten. Cropping removes distractions near the edge. Straightening fixes tilted horizons, tables, and buildings. Then reduce highlights if the sky, forehead, or window is too bright.
Use colour carefully. Too much saturation can make grass look fake, food look heavy, and skin look orange. Hair, trees, and night scenes can all appear rough if they are sharpened too much.
Snapseed, Lightroom, or your phone’s built-in gallery tools can all work for simple edits. The app matters less than the habit. Make one change, compare before and after, then stop before the photo starts looking processed.
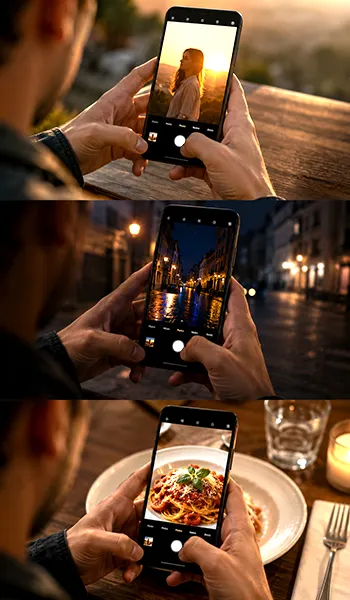
Which android photography tips matter?
The best android photography tips are the ones you test on the scenes you actually shoot. Features vary by phone, so no single setting works perfectly on every model.
For instance, on my Google Pixel when I switch to portrait mode, I lose the option to shoot in RAW. Which sucks!
These android photography tips work best when you test them on the scenes you actually shoot.
Photograph a backlit person in photo mode and portrait mode. Shoot a dark street in photo mode and night mode. Try a plate of food in Photo mode and Food mode if your phone has them. Compare sharpness, colour, edge detail, and how natural the results feel.
Keep the testing practical. Use scenes you actually take photos of, such as family, pets, meals, products, city walks, travel, or indoor gatherings. Once you know your phone’s idiosyncrasies, choosing the right settings gets faster.
Keep Learning
Your next move with the camera
You’ve got the controls. These are the guides I’d hand you next. Each one picks up where the other left off. Written from the same real photo shoots
-
How to Use Android Camera Controls for Better Photos
How to Use Android Camera Controls for Better Photos I’ve found that most beginners don’t need more camera…
-
How to Use iPhone Burst Mode for Moving Subjects
How to Use iPhone Burst Mode for Moving Subjects A moving subject can change position between the moment…
-
How to Use iPhone Camera: Plain Guide to Camera Controls
How to Use iPhone Camera: Plain Guide to Camera Controls Learning how to use iPhone camera controls starts…
-
How to Use iPhone Time-Lapse for Smoother Videos Results
How to Use iPhone Time-Lapse for Smoother Videos Results I love making iPhone time-lapse videos; they are so…




RECOMMENDED EDITOR
On1 Photo RAW – For when you outgrow the build in phone editor
The mobile editor I reach for my serious shots. Free 30-day trial
Conclusion
Better Android photography comes from small choices made before and after the shot. Tap the subject, choose the right mode, avoid unnecessary zoom, watch the frame, and edit with restraint.
You don’t need to use every setting for every photo. The best Android photography tips are simple enough to use in the moment: notice the real problem first, then choose the feature that fixes it.
About Bob Wild
Bob is a fine-art photographer on Vancouver Island and the creator of Phone Photo Guide, and the founder of Who Said Photography. He shares practical mobile photography tips based on real shooting situations, including portraits, natural light, composition, and everyday phone editing.